Showing posts with label tutorial monday. Show all posts

Monday, December 20, 2010

Tutorial Review {PettiSkirt}

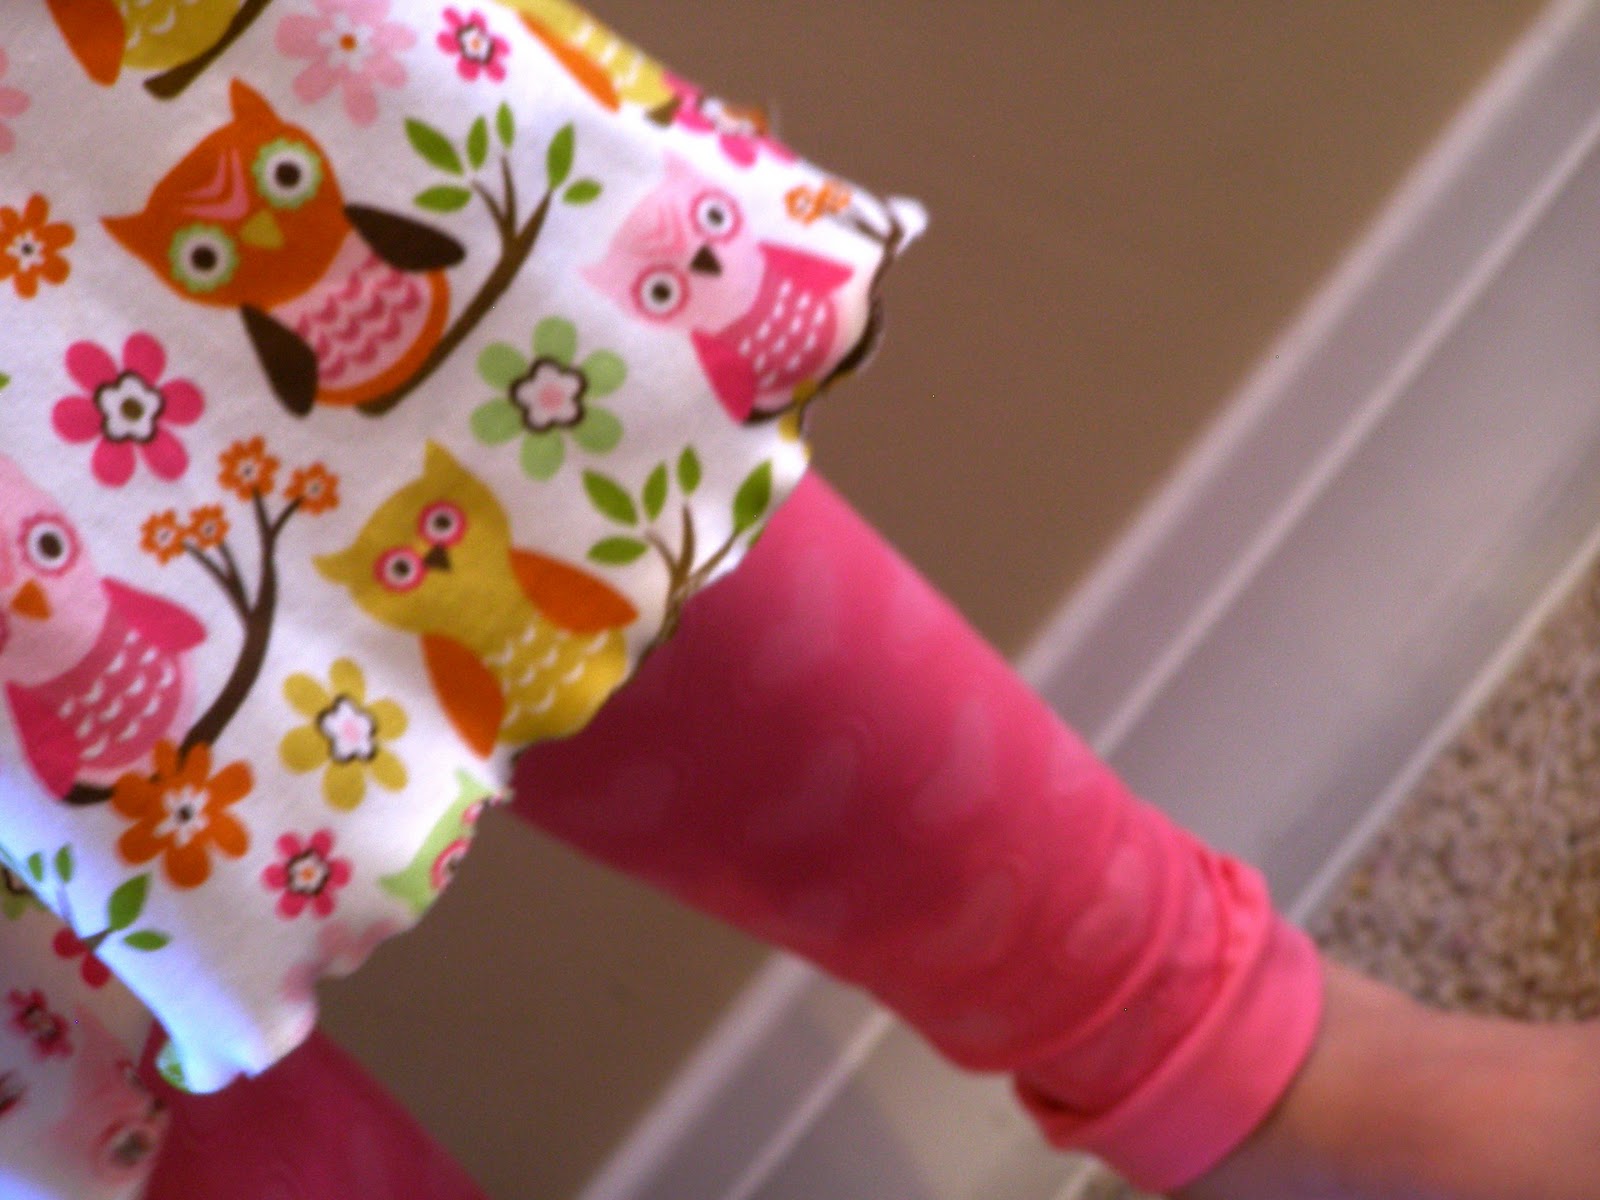
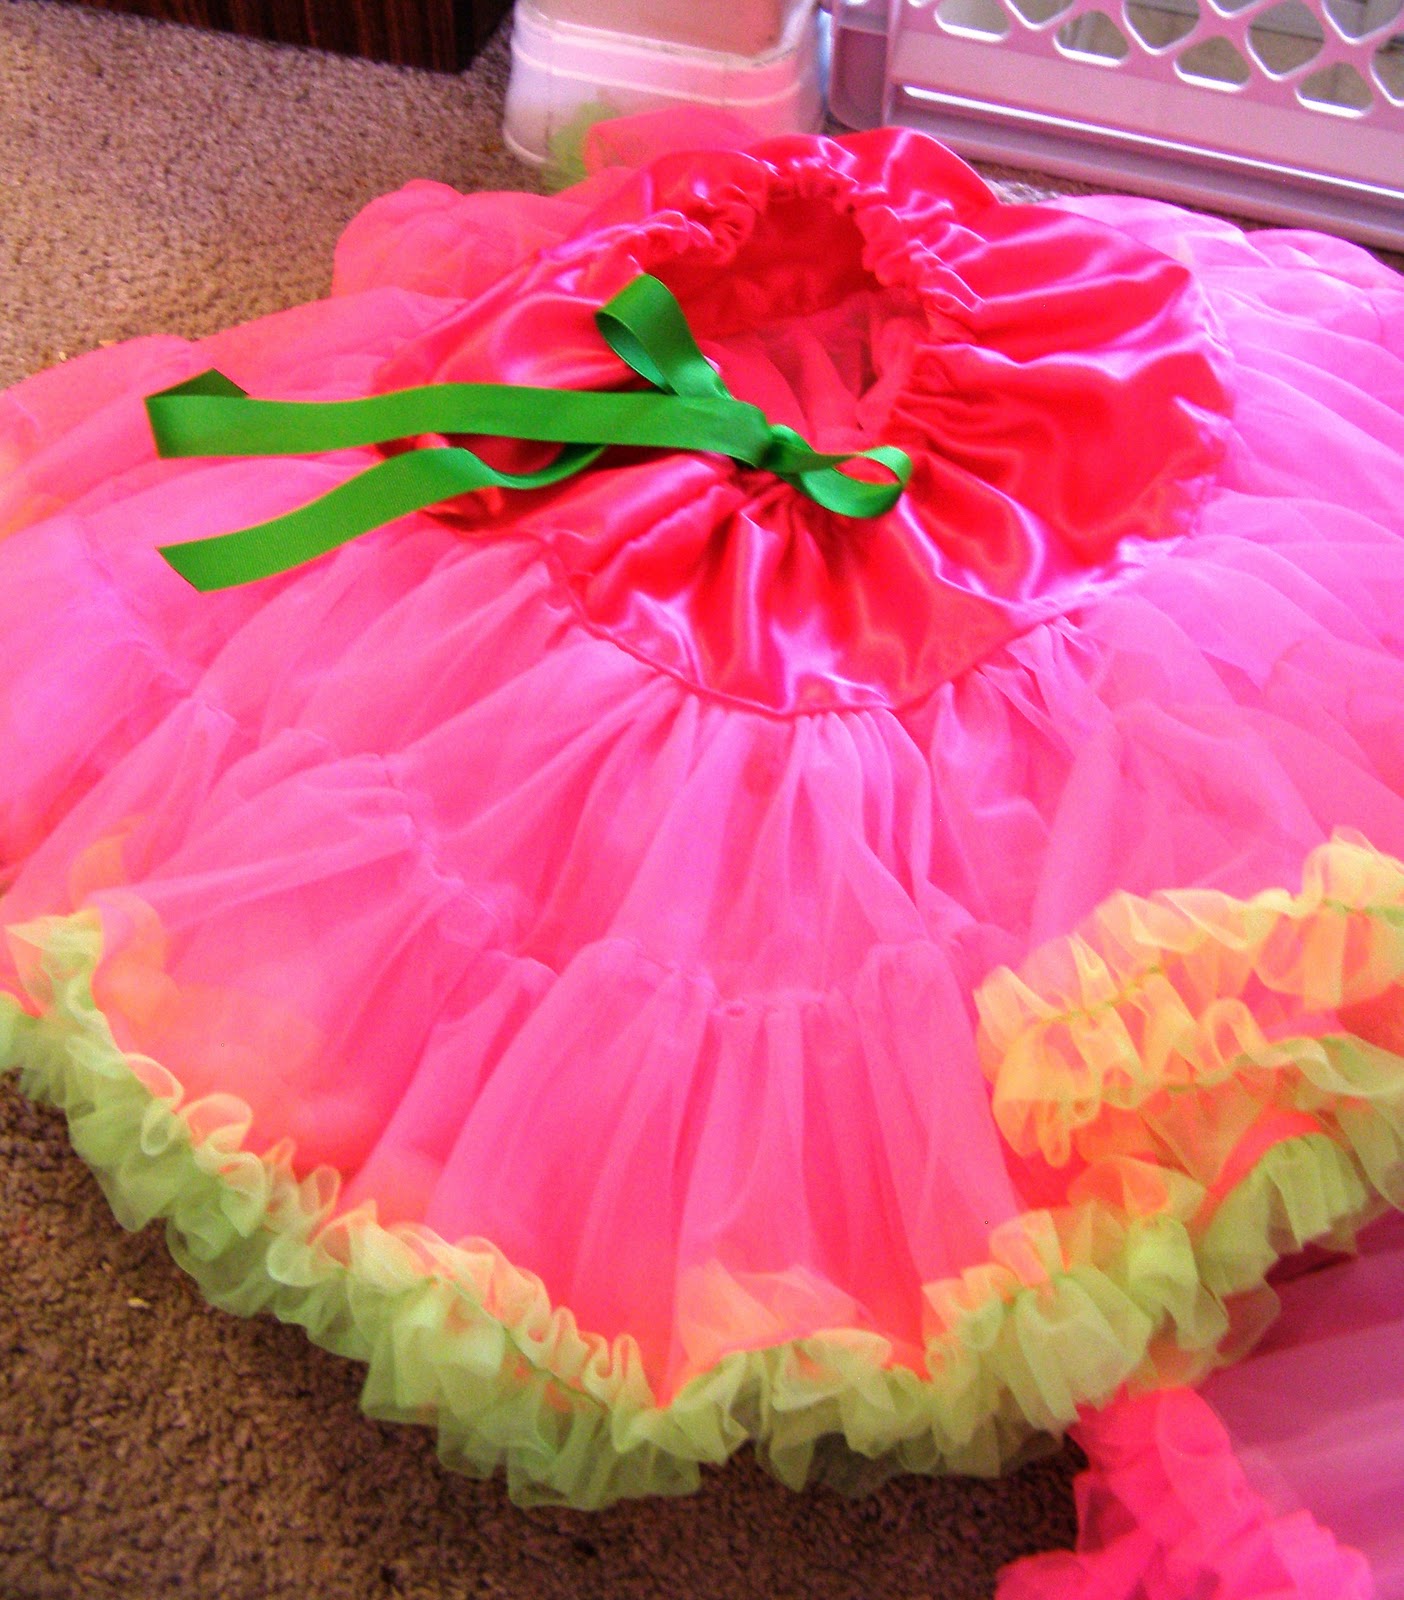
Today's review comes from Make it and Love it.  It is her super cute and amazing petti skirt.  I made one to send to my aunt and I made some for my monkey children for Christmas (they don't know that though, they think they are all for my aunt.)  So here is how mine turned out.

 Aren't they cute!!!  I am pleased with them.  But I must admit that they are the most time consuming project I have ever encountered. But they are totally worth it.  So to help you keep your sanity here are tips for you.
 1- Buy the chiffon on the rolls. Yes you could probably do it cheaper to buy it not on the rolls but cutting and sewing strips and if it's something you have to hem you will go crazy by the end.
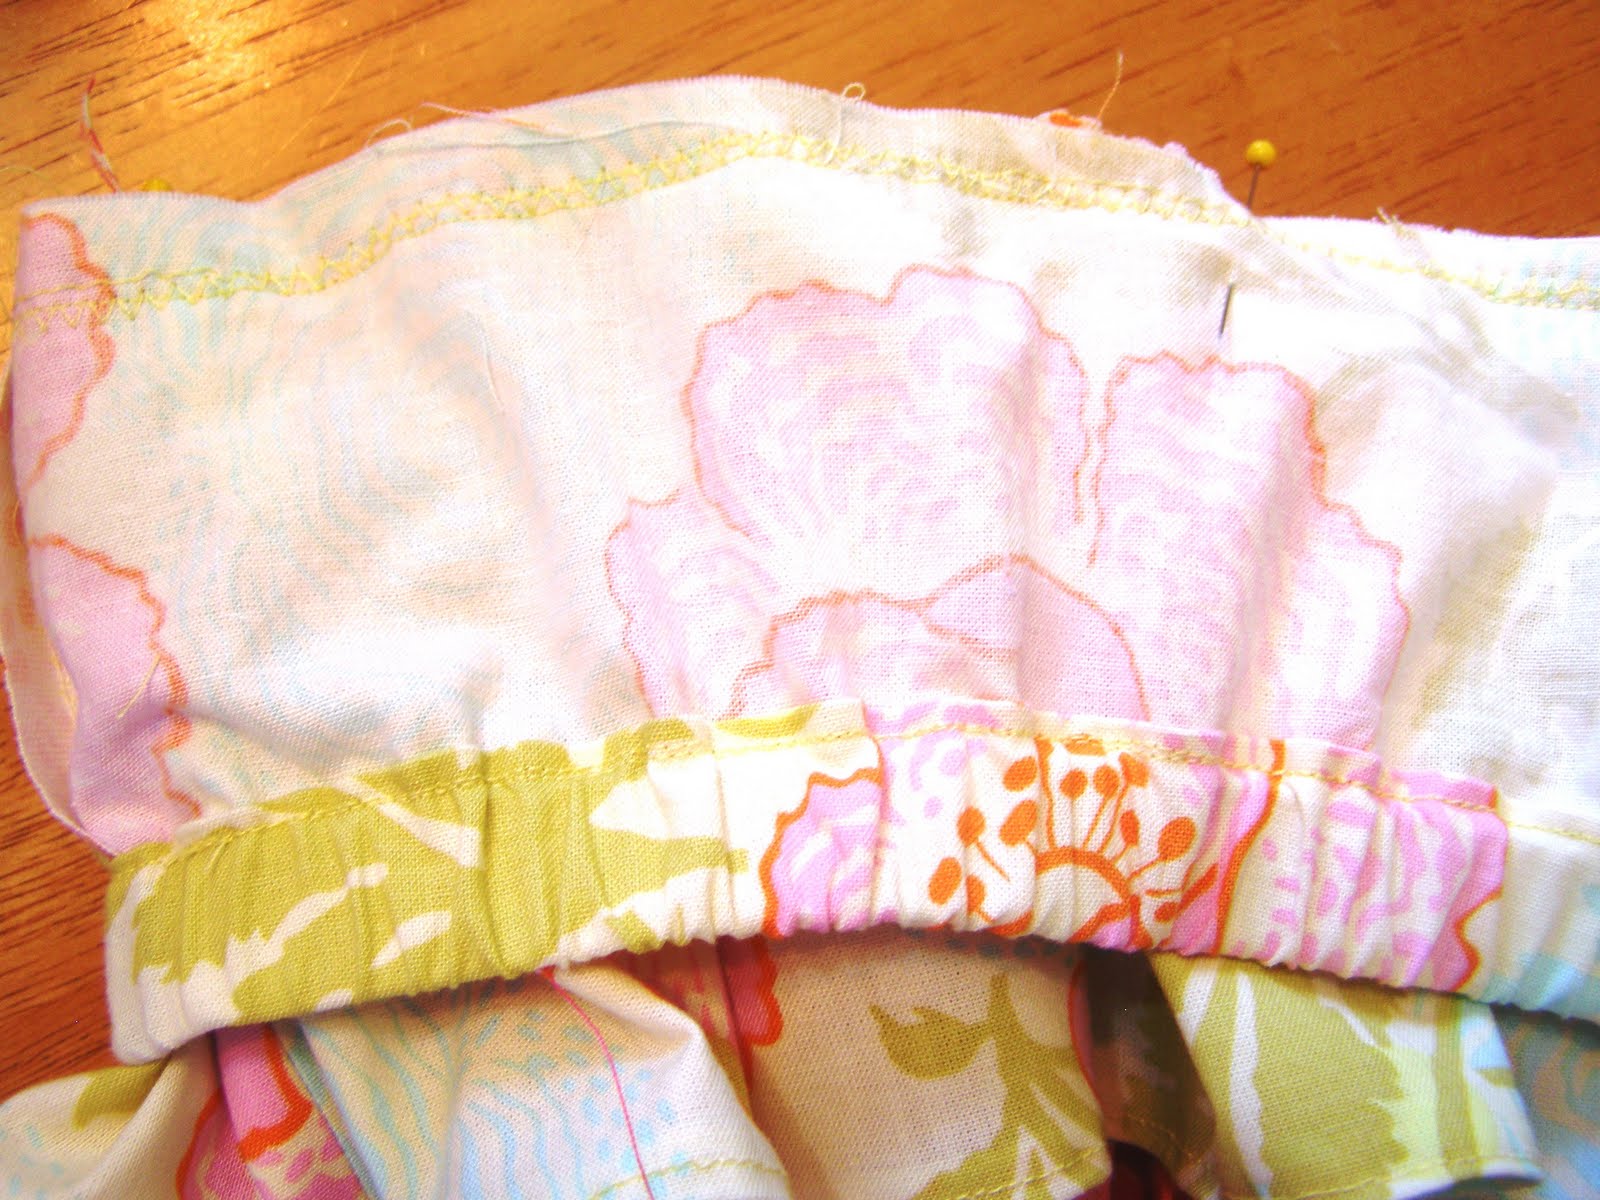
2- You won't quite use all the chiffon on your rolls so I suggest (especially when sewing your ruffle) to cut a 15 inch strip and then place with the tension on your machine until you find what will make it be a 5 inch ruffle.  Not having to gather that much will really save you a lot of time.  Also when you have to gather by hand your material twists more which then requires more time to untwist and sew.
3- You will notice as you sew that your chiffon curls a little on the edges. If you make sure that the curl is down it is easier to uncurl from that direction as you sew.
4- I wanted to make one of mine a bit bigger than what she suggested so I figured it would be cheaper to make the satin top longer than it would be to buy wider chiffon. So I cut it 12 inches instead of 8.  It worked, but I think if I had to do it over again I would buy 6 inch instead of 5 inch chiffon and cut the satin at 10 inches. (scroll up and look at the pink and green one again and see what you think)
Total Cost: about $15 but I know totally understand when I see these for sale for $50+.
Total Time:  It's hard to say.  But as I said earlier this was the most time consuming project I have done yet. It is worth it in the end I promise. If I had to estimate time I would say 10 active hours.  (well my first one was closer to 14hrs but I got quicker as I went so pay attention to those tips!)


Well I better go I have one more to sew before Christmas.

Monday, November 15, 2010

A quick tutorial review {Go to Dress}

 Sorry about my lack of post recently.  Life just keeps happening.  So here is a quick review.  Today's review comes from The Train to Crazy.  This is a super fun cute blog and if you haven't checked it out.  But today I sewed her super cute Go to Dress.  And here are my results.


Isn't it super cute!!!  She did her tutorial with a serger but I do not have that luxury so I did it with my trusty old sewing machine. I did notice one thing off with the pattern.  When sewing the sleeves and you do your gathering, the dots on the pattern are on the wrong side.  You are gathering on the raw side not the folded side.  Other that that her instructions were super clear.  She left it up to you on how to do your hem and this is how I did mine.  She also has a page of Q&A's for this dress if you need anything cleared up.
Total Time: If I could sit down and sew uninterrupted if would have been 3 hours.
Total Cost:  I am not quite sure since I bought enough material to make 3 dresses and it was about 2 months ago.  Most on-line places have knits for $10/yd but I was lucky enough to find some cute ones at a local fabric store fr $6/yd.  Just keep your eyes open and be patient.  

I do have one tip for you to make your fabric go further.  Since everything is cut on the fold in this pattern I folded my material narrower to get more out of it.  If you are visual like I am this is what I mean.
(Sorry I didn't take pic's while doing folding so this demonstration is with a piece of paper)
Here is you material/(paper) unfolded.
 Go ahead and fold it like you normally would in half.  Then iron it and unfold it.
 Now fold it again so the edge meets up in the middle.

 Your pattern pieces should fit just fine on that.  I used the largest pattern and made it a smidgen bigger since a 5 would be to small on my oldest monkey.  And my pattern fit perfectly. 
Go have fun with this dress it is super quick and easy!

Tuesday, October 12, 2010

Tutorial Review {Baby Stacking Blocks}

I hope you all enjoyed your holiday yesterday.  I sure did, my DH had the day off work and he did dishes and cleaned house while I took a break.  Best holiday ever if you ask me.  So today I am here to get back on the ball and do a review.  This is another craft that I did at my girly craft night a few weeks ago.  So this craft comes from Merriment Design
Merriment Design has tons of cute crafts for children and babies.  And a lot of them are for little boys. She also has lots of yummy recipes, not to mention holiday crafts and a slew of other fun crafts.  For example I love her baby tag blanket.  The fabric she used, the pockets and attaching toys to the tags.  GENIUS.
 And her version of applique is darling.  With a capital D!

But today we are going to make the baby stacking blocks.

 I think these are so cute.  I love that they are big and fun too. Here is my finished block.
 I chose to go with black, white, red and yellow because I think they are super fun together and can be boy or girl. I added a few fun things as well.  On two if the sides I added a square of chip bag to make it nice and crinkly. I cleaned out the bag and cut out squares.  After I ironed on the interfacing I sewed the bag onto 2 blocks.  I just went down to two sides to hold it in place.  Also it works much better if the bag is on top instead of on bottom while sewing.

 I also used the super soft fabric on one of the sides for some fun and texture.

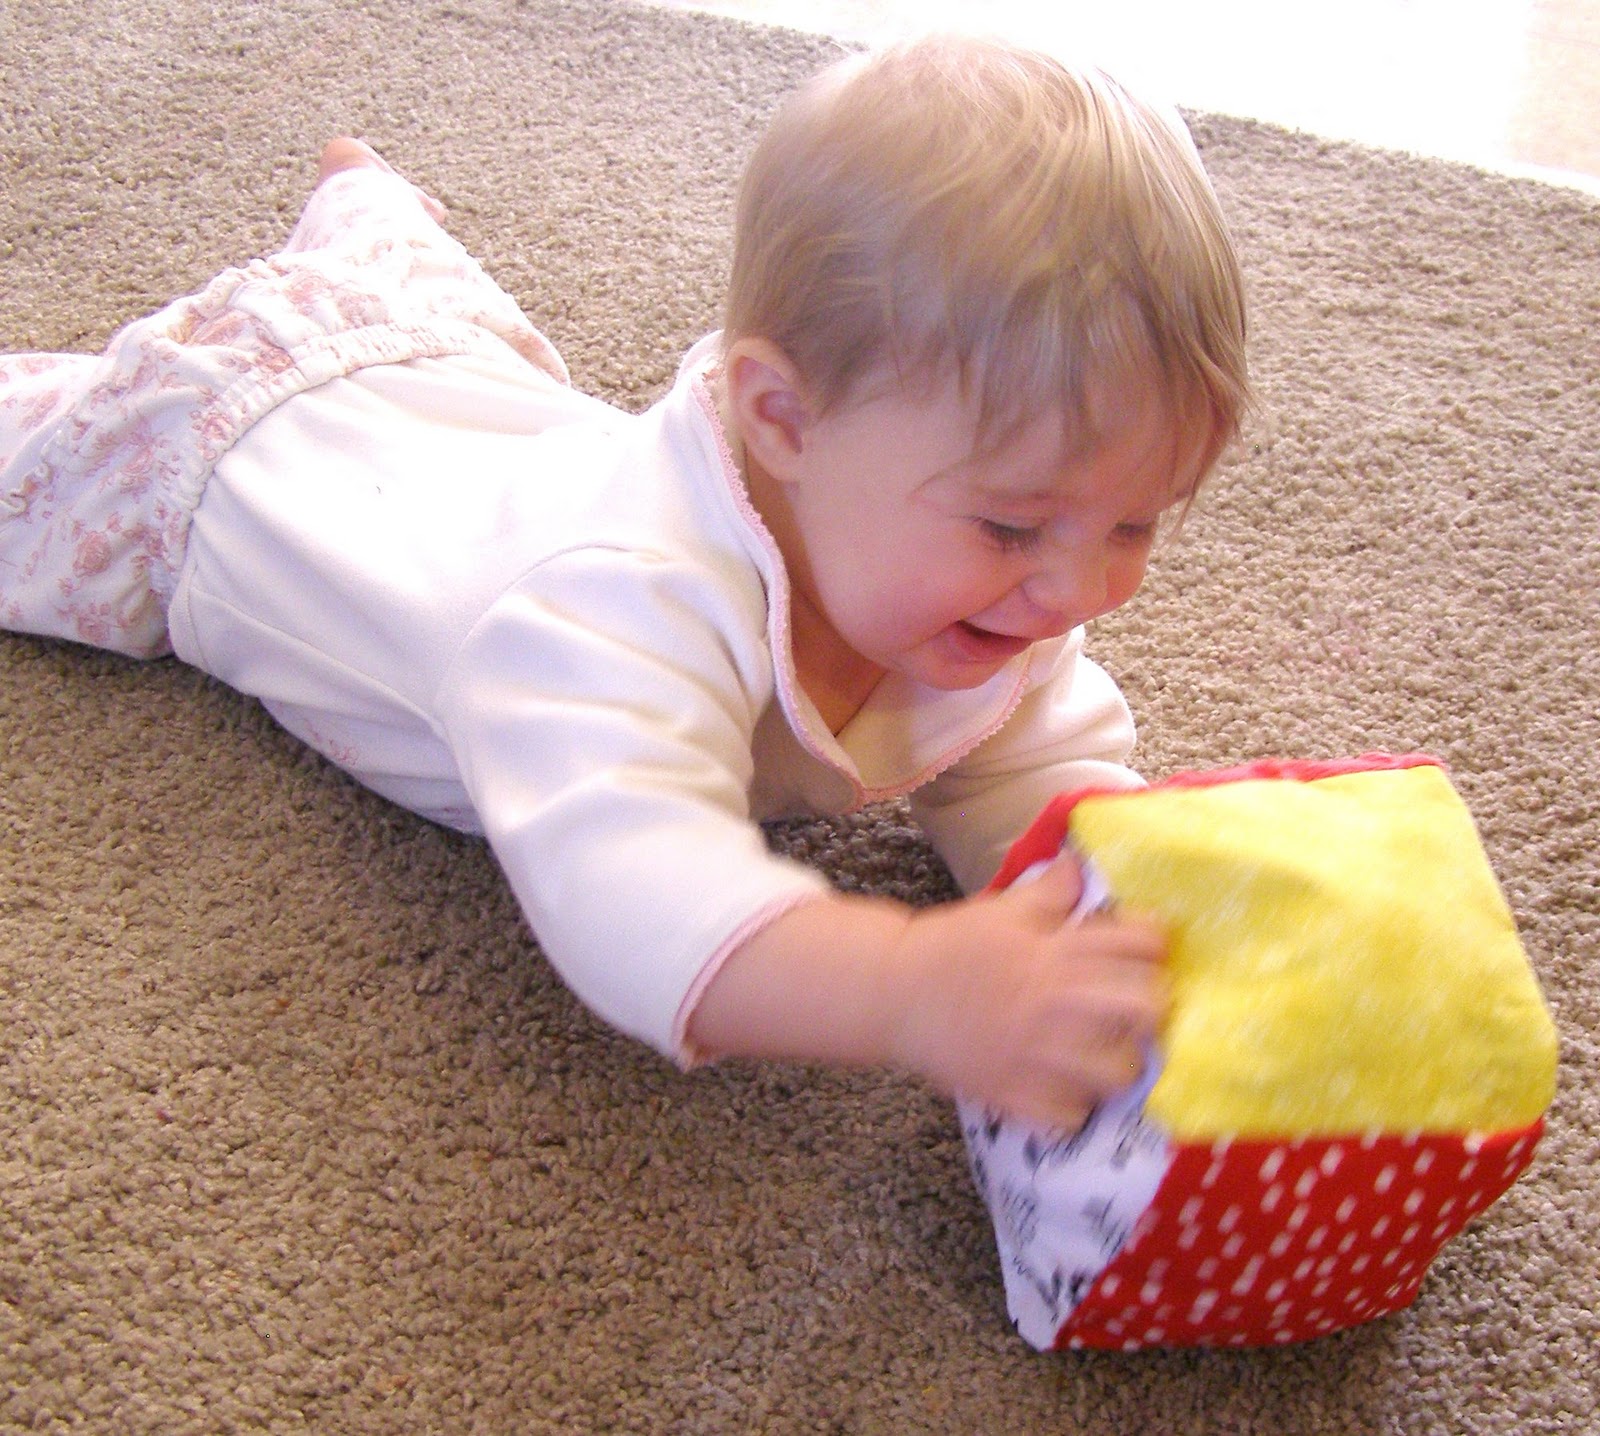
 Now for the baby test. She's sees it and is grabbing it.
 Ohh look at that smile,  I think she likes it.
Total Time: 45 min
Total Cost:  ?
This is hard to say considering I used mostly scraps.  But lets just say it wasn't pricey.  I did buy a bag of larger bells for 99cents.  There were enough bells for 2 blocks in that bag.  Other than that I can't really say a price.
Tips: 
-Defiantly use larger bells.  They make a much better ring.
-Don't forget to iron open your seems.
Have fun!

Monday, October 4, 2010

Tutorial Review {Baby Snap on Bib}

Okay so I don't have all the pictures I want of this but I have enough to do a post so here you go. 
This review comes from Sew4Home.  Sew4Home is an awesome website for anyone who likes to sew, especially who like to sew home decor.  Home decor sewing has always scared me but as I browse their site I am filled with inspiration and with hope.  Here are some of their projects that are on my to do list.
They just posted this one today and when I saw it I swear I heard the heavenly choir sing.  It is an answer to my prayers and my monkeys are getting them for Christmas this year.   It is a Roll Up Nap Blanket.  Here is the tutorial.
 Next is this adorable apron.  It reminds me of the ones you see for sale at boutiques for like $40.  Yeah I ain't spending no $40 on an apron. But I can now make one for less than $10!  Here is the tutorial.
 With all three of my monkeys I have bought a different diaper bag and I have hated them all.  I think this in the answer to that problem.  So cute and functional!  Here is the tutorial.
 And last this is something I really need to make.  You see my sewing machine was a hand-me down gift.  Don't get me wrong I LOVE my sewing machine, but it didn't come with everything a new one does like a cover.  So I really need to do this. Here is the tutorial.
 Now for what I have made and the tutorial I am reviewing.  It is their baby snap on bib.  Here is their link.
Aren't those soooo cute.  They are a nice big size too.  I love how they are simple yet darling.  Here is one of my finished bibs.  (As I mentioned in my last post I don't have all my pics but I will show you some more later.)
I think it is darling! 

 I did make one minor change though.  The fact that the bib took just over 1/2 a package of bias tape kinda drove me crazy.  So I slightly shortened their pattern so I could get to bibs out of one package of bias tape.

 It still fit my baby just fine.
 I love this bib and I will be making more.  I think it is a great thing to keep on hand for baby gifts.
Tips:
If you have never worked with snaps before practice on scrap fabric first.  It can be a little confusing the first time you do it.
They mention in the tutorial that when pinning the bias tape to the tight curve neck part that it looks like a porcupine, well if your not careful it feels like one too :)
Make sure to pre-wash fabric. Especially since you are combining two different types of fabric that will have different shrinkage the first time they are washed.
Time:
About 1 1/2 hours.  Most of that is pinning the bias tape on, but with practice you get faster.
Total Cost:
This depends on the fabric you use.  But the priciest part it the bias tape.  The cheapest place to get bias tape is wally world but they don't have a stellar selection.  
I would say this bib cost me $2 in the end.

As always if you make one I would love to see a picture!

Monday, September 13, 2010

Tutorial Monday {Temple Block}

Today's review comes from Lil' Luna-All Things Good. Kristyn is super creative and has lots of fun things happening on her blog.  She does something special and fun each day.  Tuesdays are her tutorial days.  She has awesome tutorials and good handful that are on my to do list.  But today we are going to talk about her Temple Blocks.


That is just so cute I had to do one.  Ok I did more than one.
My little monkeys even joined in the fun and made some.
Her tutorial is really straight forward and I really have nothing to add to it but have fun and be creative.
Here are some tips though.
-Remember when I did the dry erase calendar and I talked about getting sample paint from your local home improvement store.  That is the paint you want to use here as well.  It is less expensive and generally better quality than the little bottles of craft paint you buy at craft stores.
-Also don't be afraid to play with colors and ribbon.  I don't really like how the white one turned out but I am not so bummed because I have plenty others that I love.
-I think these would make great gifts for so many occasions. Weddings, babies, baptisms etc.
Total Cost: Less than $2 per block
I bought a board from home depot for $3 (I got 10 blocks from it).  They  also cut it into the size I wanted for 25cents a cut and the first two cuts were free. 
I used maybe 20cents worth of my paint per block
I already had modge podge on hand.  If you don't have modge podge and have never bought any before you might have a little sticker shock when you see the price, but it lasts a good long time.  It's also a great item to use you 40-50% off coupons at craft stores. 
And I am a ribbon addict so I already had all that on hand as well but you can get a spool of ribbon for a really good price.  I love to get my ribbon from The Ribbon Retreat.
Total Time: about 30 min.
Most of that time is waiting for the paint to dry so actively working on the block is about 10 min.
Thanks Kristyn for such a cute easy craft that I love.
If you would like to know more about temples and the LDS religion you can find out more here.

PS one the top of my side bar is a picture of my baby monkey.  If you would go and vote for her I would greatly appreciate it.  If she wins I will be doing a bunch of giveaways in the month on Oct. to tell you
Thank You. So please go and vote :)
pps. My blog is coming up with a bunch of missing pictures.  Is this just happening on my computer or is it happening on yours too?  Let me know so I can fix it if needs be.  Thank You.

Monday, August 23, 2010

Tutorial Review {Dry Erase Calendar}

Yes I am reviewing a tutorial.  Isn't that so exciting.  It has been a little while.  Luckily this one goes along with this month theme of being organized.  So without further ado here it is.
Isn't that cute!
The idea came from Somewhat Simple.  The same place I got the Happy Birthday Banner from.
Here is her finished project.

What I love about this is the versatility you can do with it.  You can make it say anything, you can have as many or as few sections as you want.  It would be easy enough to change if you wanted to as well.

So here are some tips.
1- You can buy your frame at a thrift store for cheap :)
2- Did you know that you can buy sample paint at home improvement stores for around $3.  It is a perfect size for crafting.
3- I painted the back side of the picture that was in the frame before.  I like the rustic look it had.  You could also use poster board.  I also debated blowing up a family photo and printing it in black and white, but I decided against that.
before
after (note- this is the back you know the ugly brown side)
4- I sewed some ribbon loops and glues them to the back to hold my dry erase markers.
4- I didn't want to put any hole in the pantry door to hang it up so I used this.
It works wonderfully.
5- Don't step on the glass and break it so you have to start over :)

Total Time: 2 1/2 hrs
Total Cost: $10 
I had my vinyl printed by a friend who has a little vinyl business.  She does an awesome job.  Here is a link to here site.


This was a fun, easy and inexpensive project that I loved making.  So go have fun and craft :)


Monday, July 26, 2010

Tutorail Review {Smocking}

After finding out that I was pregnant with my third girl I decided I wanted her to have a smocked baby blessing dress.  To do this though I needed to learn how to smock myself.  So I scoured the Internet seeing if I could find a tutorial.  This was actually the first tutorial I followed.  And I loved learning this skill and I love that i am able to say that I know how to smock, by hand!
Now this is not a craft you decide to do an a whim, this baby will take time.  But the beauty of it will be a wonderful reward.
Marie Grace Design is where I found the prefect smocking tutorial.  She is mostly a knitter but all the work she does is lovely.  When I find a moment in my life to learn to knit I am turning to her.  But for now I turn to her for smocking.  Here is a lovely dress she smocked.

So smocking takes time and practice.  So please start on a practice piece before you ever start your real project.  I must admit I don't have pictures of my first practice piece because it was scary and I threw it away to hide evidence.  But my second practice piece turned out super cute.
I was very pleased with it.  After practicing and figuring things out move on to the piece you are really doing.  This is how mine turned out.
And here is the finished dress on an unhappy baby.  It was a long day and she was tired.
But it is a beautiful dress you must admit.  And it cost me less than $10 to make.  But I cannot count the number of hours that went into it.  But I loved the project so much that I figured my two older girls deserved their own pretty dresses as well.
I love their dresses but if I made them again I would do the sleeves and collar a different color, oh well hind sight is always 20/20.  I think next year I will make them all bishop smocked dresses.  But we shall see.
Anyways here is part one of the smocking tutorial.
And here is part two.
Some tips I discovered: 
Practice your embroidery on small piece of smocking (like your practice one you did).  Embroidery is much harder on pleated material than it is on flat material.
Do not use the shiny/silky embroidery floss, it will knot and unravel and make your life very stressful.
Have patience with yourself and remember practice makes perfect.

Wednesday, July 7, 2010

Tutorial Review {Ruffle Skirt}

First sorry I am way late about this but the 4th is a big holiday round these here parts, and it also happens to be the week of my anniversary. Hopefully I can stay caught up for the rest of the summer (fingers crossed).
Now for the review.  I am really into ruffles and mixing and matching fabric as of late, have you noticed?  Today is no different.  This skirt I am doing comes from Grand Revival.
Tanya not only has some beautiful patterns but most impressive she designs fabric for Free Spirit. Other cool things about Tanya is she lives in Belgium and she loves old movies.  She has some absolutely beautiful fabric that you should defiantly check out. She also has a big project that will be finished in Oct.  I can't wait to see what it is.  Also I am desperately trying to find out how I can get my hands on this fabric of hers. If you see it let me know.
Okay now back to the subject.  This is the skirt we are making today. Go here for the tutorial.
I love that skirt and yes those are some of her fabulous fabrics as well.  This is my finished product.
I have actually made a handful of these skirts.  I love them they are so quick and they are darling.  I make them and whenever one of my little monkeys has a b-day party to go to this is our gift. I have adjusted it slightly though.  Her measurement hits just above the knee.  I am kinda weird and that length drives me nuts so I make it to hit just below the knee.
The only part of the tutorial I had a hard time understanding was how to put the two pieces together so let me see if I can clear that up for you.  When you have your top pieces done, fold the top one in half.
Now stick the second piece inside so the raw edge is even with the middle seem.
Now sew them together and your done.
I just think that is so cute!

Now I have figured out how to make this skirt for just about any sized little girl.  So I am going to be oh so generous and share with you what sizes to cut your material out to fit any girl 3mo-8yrs.
Your Welcome!  Keep in mind to cut out 2 of each band (The smaller bands I just double and cut once ie. if I need two 13 inch bands I cut out one 26 inch band and call it good.) Also I realize that this chart might be difficult to see.  If you can't make out what you are looking for let me know and I will clarify for you.

Total Time :
Around 1- 1 1/2 hrs depending on how ornery my machine and my children are the moment.
Total Cost:
I've made it for as little as $3.  The one pictured is probably $6

Have fun making this darling skirt.  If you absolutely love it but don't want to make it I am working on putting a few up in my etsy store.  Let me know how it goes and if you have any questions.

p.s. don't forget about the tu-tu giveaway.