Monday, July 19, 2010

Shirred Baby Dress

First off I never heard back from the winner of the baby Tu-Tu so I am calling a winner.  The new winner is.....

Amanda!
  
Just e-mail me your address and I will get that in the mail.  Congrats.

Our next item of business is a tutorial.  Today's tutorial isn't really a review of any.  I have seen this idea around a bunch and I wanted to try my hand at it.  I didn't follow one specific tutorial, I read a bunch and decided on what I wanted to make and here is what I came up with.
I really like it. You can easily make this for any size as well. you could also make it a shirt instead of a dress if your heart so desires.  It only took me about 1 1/2 hrs to make.  So here is what I did.
1- Measure your child/the one who where will this dress.  You need 3 measurements.  First their chest, second under arm to the length you want the dress (or shirt) to be; and third, the top of where the dress will hit in front and in back.  I got my third measurement after the main part of the dress was made so I could see easier where those areas are.
2- Cut your material.  So my baby's chest measurement was 17 1/2.  I doubled this plus 1 inch for seem allowance. The length was 13 inches, add 1 inch for hems. So I cut out a piece of material that was 35X14.  If you are making this for a larger person whose chest is bigger than 22 you will need to cut out 2 pieces. (Most fabric is 45 inches wide so if the chest was 23 inches you would need to cut out a 47 inch piece which would be impossible so cut out two 23 1/2 inch pieces and sew together.)
3- Sew the side(s) together and hem both the top and the bottom of the material.
4- Shir top of the dress.  Since this is my first attempt at shirring I am going to send you here for a tutorial on how to do that.  Don't be daunted though it was a million times simpler than I thought it would be!
Depending on the age/size of who you are making this for will depend on how many rows you want to shir.  I did 7 rows on this baby dress.  Start just below your top hem and go to town. (This project is somewhat forgiving so don't stress if you aren't 100% perfect at it.)
5- After you have blasted it with an iron and made it shrink oh so nice and cute we will make the straps.  This is when I tried the dress on my baby and measures from the front of the dress to the back of the dress to see how long my straps needed to be. I needed 6 inch straps so I doubled that plus an inch for hemming it and got 13 inch.  So I cut 2 strips of 2inchesX13inches. 
6- Iron and sew a narrow hem on both sides of the strips.
7- Turn your machines tension to the largest stitch size and go down the center of the strip.  Make sure you leave a few inches of thread at either end of the strip. 
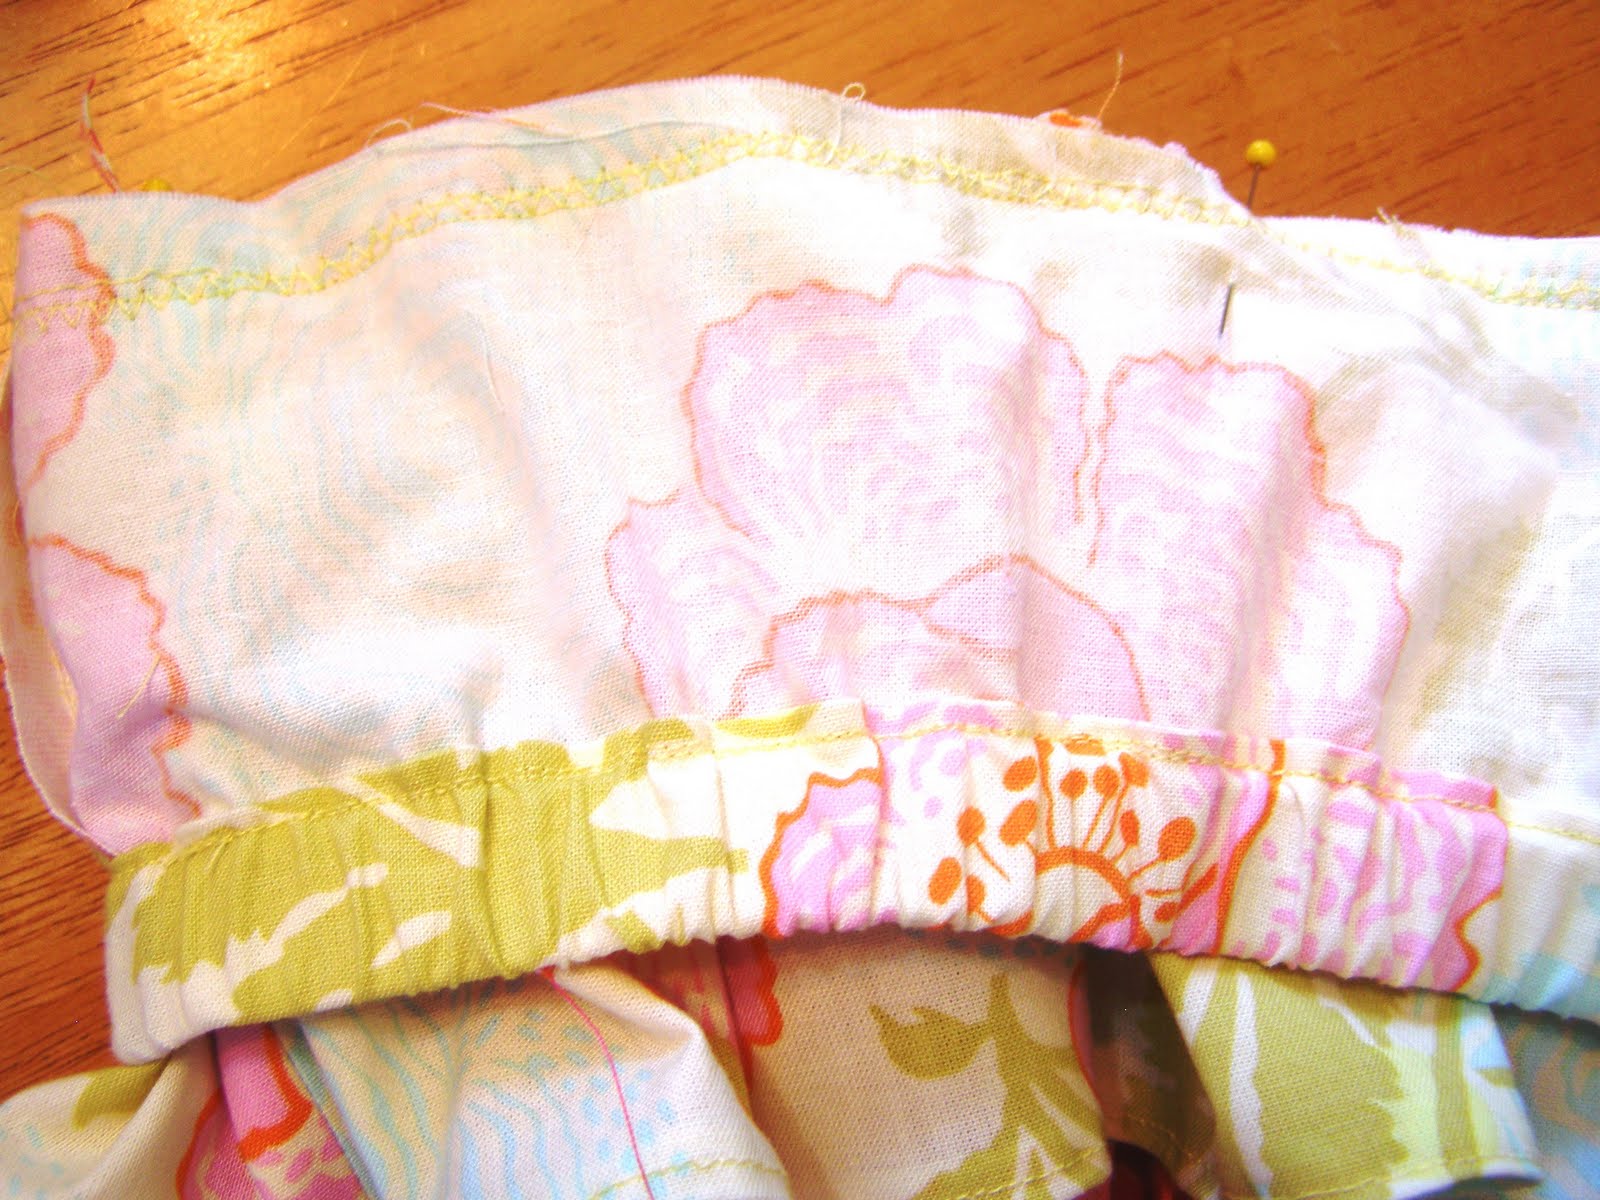
8- Now grab 1 thread and gather your strap up to the size plus 1 inch of what you need your strap to be.  I needed 6 inch straps so I gathered them up to be 7 inches long.  Tie off the threads on both ends so your ruffle does not come undone. 
9-Now turn your machine back to a regular stitch and sew straight over your ruffle stitch.  This will prevent your ruffle from coming undone.
10- Hem both ends of the strap.  Pin the strap to the dress to make sure you have it where you want in and sew it on. Voila your done.
And your baby is oh so happy because you can pay attention to her again. 
Now I am a little crazy and when we go to church  I like everyone to have sleeves on their dresses so I threw a cute onsie on underneath the dress for church and it is still super cute. (Don't you just want to kiss those cheeks!)

 As always if anything is unclear, you need more pictures, directions or help in any way just let me know. 

Saturday, July 17, 2010

Are you there?

I have yet to hear back from the winner of the Tu-Tu.  Clorissa, if your there please e-mail me at busylizzybows(at)hotmail(dot)com replace (at) with @ and (dot) with . .  If I haven't heard back from you by the time I put my next tutorial up on Monday I will pick a new winner.

Thursday, July 15, 2010

We Have A Winner

Thank you for all the entries and nice comments.  And now for our winner....

Clorissa

Congrats.  Just e-mail me at busylizzybows(at)hotmail(dot)com your address and I will get that to you.

Everyone else I hope you keep checking back for more fun crafts and giveaways.  I love you all.


Wednesday, July 14, 2010

Reversible Tu-Tu

Okay here is the Tu-Tu I will be mailing off for The Princess Alexsia Foundation.  Has anyone else made one?  I was reading SamstersMommy's blog yesterday and she has only 38 of the 100 she was hoping for and the deadline is next week so if you haven't made one yet hop to it.
So this Tu-Tu I made reversible. See.
The trick to this is really quiet simple.  You put the knots of one color at the top of the elastic and the knot for the other color at the bottom of the elastic.
One other tip for you.  If you buy your tulle on a 6inch spool but want 3inch strips simply put a rubber band or elastic on the spool to mark where the middle is.
Then take your rotary cutter and slice on through. I would suggest going around once quick for the markings then take the elastic off and go around again for depth.
Voila.

Happy Tu-Tu making!

Also today is the last day to enter to win the 6-12month size Tu-Tu.  Go here to enter.

Monday, July 12, 2010

Oragami Fabric Flower

Along with the ruffle skirt I made last week I made a darling headband and flower. 
This flower is super cute and easy.  It requires minimal hand sewing and just a smidgen practice.  Go check it out at Primrose Corner.

Wednesday, July 7, 2010

Tutorial Review {Ruffle Skirt}

First sorry I am way late about this but the 4th is a big holiday round these here parts, and it also happens to be the week of my anniversary. Hopefully I can stay caught up for the rest of the summer (fingers crossed).
Now for the review.  I am really into ruffles and mixing and matching fabric as of late, have you noticed?  Today is no different.  This skirt I am doing comes from Grand Revival.
Tanya not only has some beautiful patterns but most impressive she designs fabric for Free Spirit. Other cool things about Tanya is she lives in Belgium and she loves old movies.  She has some absolutely beautiful fabric that you should defiantly check out. She also has a big project that will be finished in Oct.  I can't wait to see what it is.  Also I am desperately trying to find out how I can get my hands on this fabric of hers. If you see it let me know.
Okay now back to the subject.  This is the skirt we are making today. Go here for the tutorial.
I love that skirt and yes those are some of her fabulous fabrics as well.  This is my finished product.
I have actually made a handful of these skirts.  I love them they are so quick and they are darling.  I make them and whenever one of my little monkeys has a b-day party to go to this is our gift. I have adjusted it slightly though.  Her measurement hits just above the knee.  I am kinda weird and that length drives me nuts so I make it to hit just below the knee.
The only part of the tutorial I had a hard time understanding was how to put the two pieces together so let me see if I can clear that up for you.  When you have your top pieces done, fold the top one in half.
Now stick the second piece inside so the raw edge is even with the middle seem.
Now sew them together and your done.
I just think that is so cute!

Now I have figured out how to make this skirt for just about any sized little girl.  So I am going to be oh so generous and share with you what sizes to cut your material out to fit any girl 3mo-8yrs.
Your Welcome!  Keep in mind to cut out 2 of each band (The smaller bands I just double and cut once ie. if I need two 13 inch bands I cut out one 26 inch band and call it good.) Also I realize that this chart might be difficult to see.  If you can't make out what you are looking for let me know and I will clarify for you.

Total Time :
Around 1- 1 1/2 hrs depending on how ornery my machine and my children are the moment.
Total Cost:
I've made it for as little as $3.  The one pictured is probably $6

Have fun making this darling skirt.  If you absolutely love it but don't want to make it I am working on putting a few up in my etsy store.  Let me know how it goes and if you have any questions.

p.s. don't forget about the tu-tu giveaway.

Thursday, July 1, 2010

Ribbon Waist Tu-Tu {Give Away}

Remember the Tu-Tu Drive that I talked about last week. So here are a few tu-tu tips. 
First if you have tulle by the yard and not the spool here is how to cut it.
Keep the fold in your tulle from the original cut.  We are going to cut that fold off and that will make the length of your strips.  If you fold your tulle up keeping the fold in the same spot it will be much quicker and easier to cut.  Then use your rotary cutter and cut of the fold.

Now unfold it and roll it up. Think roll of wrapping paper. (You are rolling opposite of they way it was folder previously.) Then just cut that roll every 3 inches. You will have two strips for each cut.
Okay second tu-tu idea is to use a ribbon for the waist instead of elastic.  Measure out the ribbon to the waist size and add about  20".  Now center your waist measurement in the ribbon and tie a knot at both ends of the waist measurement.
Now add the tulle to the insides of the knots just like you would to the elastic.  Then tie the end together in a bow.
Super cute to have that bow their isn't it. Make sure you fray check the end of your ribbon.
If any of this is confusing let me know and I will try to clear it up.

Now for some good news for you.  I had a moment of crazy brain and did a double cut on the length of the ribbon.  I thought that's okay I'll just make a 6-12 month tu-tu.  Well the tu-tu drive is for sizes 2-10. So I have this super cute tu-tu that is baby sized.  What do you think I should do with it?  Did you say, "Do a giveaway!"  I thought so.  Okay I will do a giveaway.
How to enter
1- Leave a comment.
2- Follow me.  If you are already a follower just leave a comment saying you are.
3- Tell your friends.  Each time I see your name in a comment your will be entered again.
Deadline is Wednesday July 14th.  I will announce the winner the Thursday morning.

Have fun!

This giveaway is now closed check here for the winner.