
I have my first paying sewing job. My aunt wants me to make some dress ups for her grand children's Christmas presents and I am having so much fun. I am also excited because I came up with this skirt on my own and I LOVE how it turned out. So I am going to share it with you today. So here we go a little girls flamenco skirt.
2/3 yd of stretchy material. (I used Lycra you know the bathing suite material :)
1/3 yd of 2 pieces of material for ruffle
3/4 inch elastic
3/4 inch ribbon
matching thread
So I am making this around a size 6. So I took 2 measurements: hips and waist to knee. A 6 yr olds hips is around 23 inches and the waist to knee is about 12. So I added 2 inches to the hips for seems and movement and I added 1 inch to the waist to knee for a casing and cut out a piece of black Lycra 25X13. Well to be honest I cut it on the fold so it was 13 1/2X 13.
Now I measured 2 inches over from the side seem and 1 1/8 inch down from the top and I made a white chalk mark there a little less than 1 inch long.


Then I went ahead a made a 1 inch casing at the top of the skirt. No need to leave a bit open though because that's what the button hole is for.


Now thread your elastic/ribbon through your casing and you get this cute top. (Make sure to seal/fray check the ends of the ribbons)


Next take a piece of material you want to add for color. Cut one of them 3 1/2 inches thick by the width of the material. (3 1/2X45ish) And do that 3 times. So you should have 3 strips that are 3 1/2 inch's X45 inches. Sew all those together to make one large circle piece. Hem one end and baste the other. Gather is up.
Repeat this step with another piece of material but make it 5X45ish.
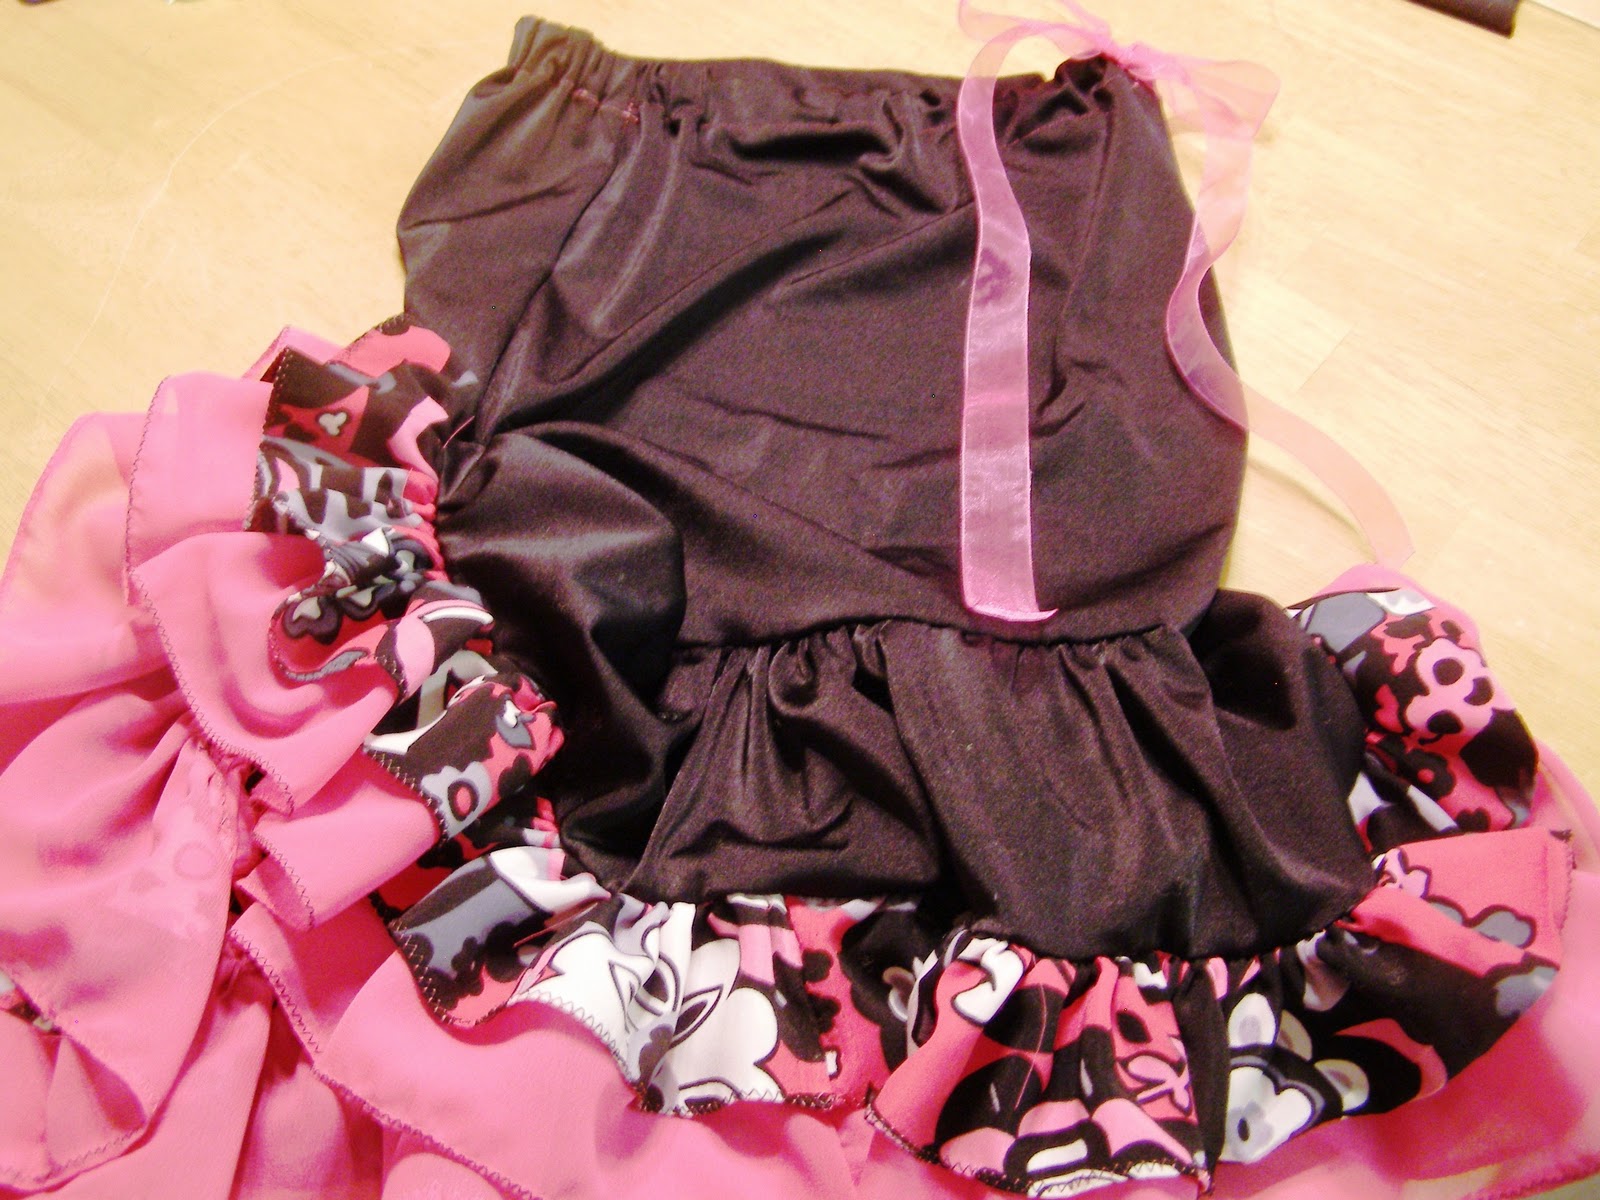
Gather the pieces to fit the bottom of the skirt and sew them on.
Tip: Both of my color pieces were light weight so I basted them together and gathered them at the same time. This was quicker and easier than individually but can only be done if your material is light weight.

You have at this point 3 levels of the skirt. 1- the main skirt 2- the black ruffle and 3- the color ruffles. Fold up layers 2 and 3 and pin them about 2-3 inches away from the seem in the front of the skirt. (on the opposite side of the bow)


This tutorial is featured on:

7 comments:
Adorable! Congrats on the sewing job too. :)
I love the ribbon/elastic waistband. I'm going to try that on my next project!
This is great! My daughter would absolutely LOVE something like this!
so cute! love how it turned out!
Saw your linkup on Sew Dang Cute, and Wow! Great job!
super cute-Thanks for auditioning for Amercian Crafter!
Liz,
Love it! I think I need one! :)
happy crafting!
Linda
Post a Comment