When I had my third baby a friend gave me a homemade hooded baby towel and I loved it! It was unlike any other design I have seen for a hood but I liked it sooo much better. So when my sister just had her 3rd baby I decided I wanted to give her a hooded towel as well. So I went searching for tutorials and I couldn't find any that were like the one I received. So I just had to study the hood and figure it out on my own. I also made a cute little wash cloth to go with it. And it turned out super cute.
So here is what you are going to need.
A towel
Washcloth
1/4 yrd flannel
ribbon or other trims you want to use
basic sewing supplies
(If you want a wash cloth as well you need 1/4 yr terry cloth)
Now the first thing you are going to do is add your trim. You will want to do this on the "wrong" side of your wash cloth at what you want to be your top.
Now this is the tricky part and since I was tryi9ng to figure it out myself I don't have great pics so feel free to let me know if you have any questions.
Turn your wash cloth so you can see the front. Turn the top down about 1-1 1/2 inches. Now fold the wash cloth down again stopping about 1 1/2-2 inches from the bottom. Now it will look like this.
You see the black line I drew in, that is where you are going to sew. I zig-zagged it for more security. You want to start at about 2 inches from the side and go down to the corner. Do that on both sides and trim off the triangles.
Now flip it right side out.
Cute little hood isn't it. I wanted to add a little extra so I cut a duck out of my flannel and ironed it on with heat bond. Then appliqued it on.
Now you're going to attach this to the towel. You want to attach it to the center of the long side. I just overlapped the binding on the cloth and the towel and went around twice for extra security again.
Sorry I know it is hard to see I picked a good matching thread.
And Voila you have a cute towel. (bad picture but cute towel)
Now for the wash cloth. First please pre-wash your fabrics, or else the first time they are washed together you will likely end up with something that no longer matches.
Take your 1/4 yd flannel and fold a triangle to make a square. Now cut it out.
Then lay your flannel on your terry cloth and cut out a matching square. Put right sides together. Draw curved corners on all 4 corners. I used an old washcloth as a guide.
Sew the two together leaving about a 3 inch gap in one side. Now turn it right side out and top stitch around the washcloth.
Now you have a cute wash clothe to match your cute towel. A perfect gift for a baby.
I am glad to know there is one less baby wrapped you in a thin store bought hooded towel tonight. Instead he is warm and snugglie in a soft thick towel made with love.
Showing posts with label Kids. Show all posts
Tuesday, May 10, 2011
Tuesday, April 19, 2011
Behavior Rewards Chart (and a sneak peak at the 100 followers prize)
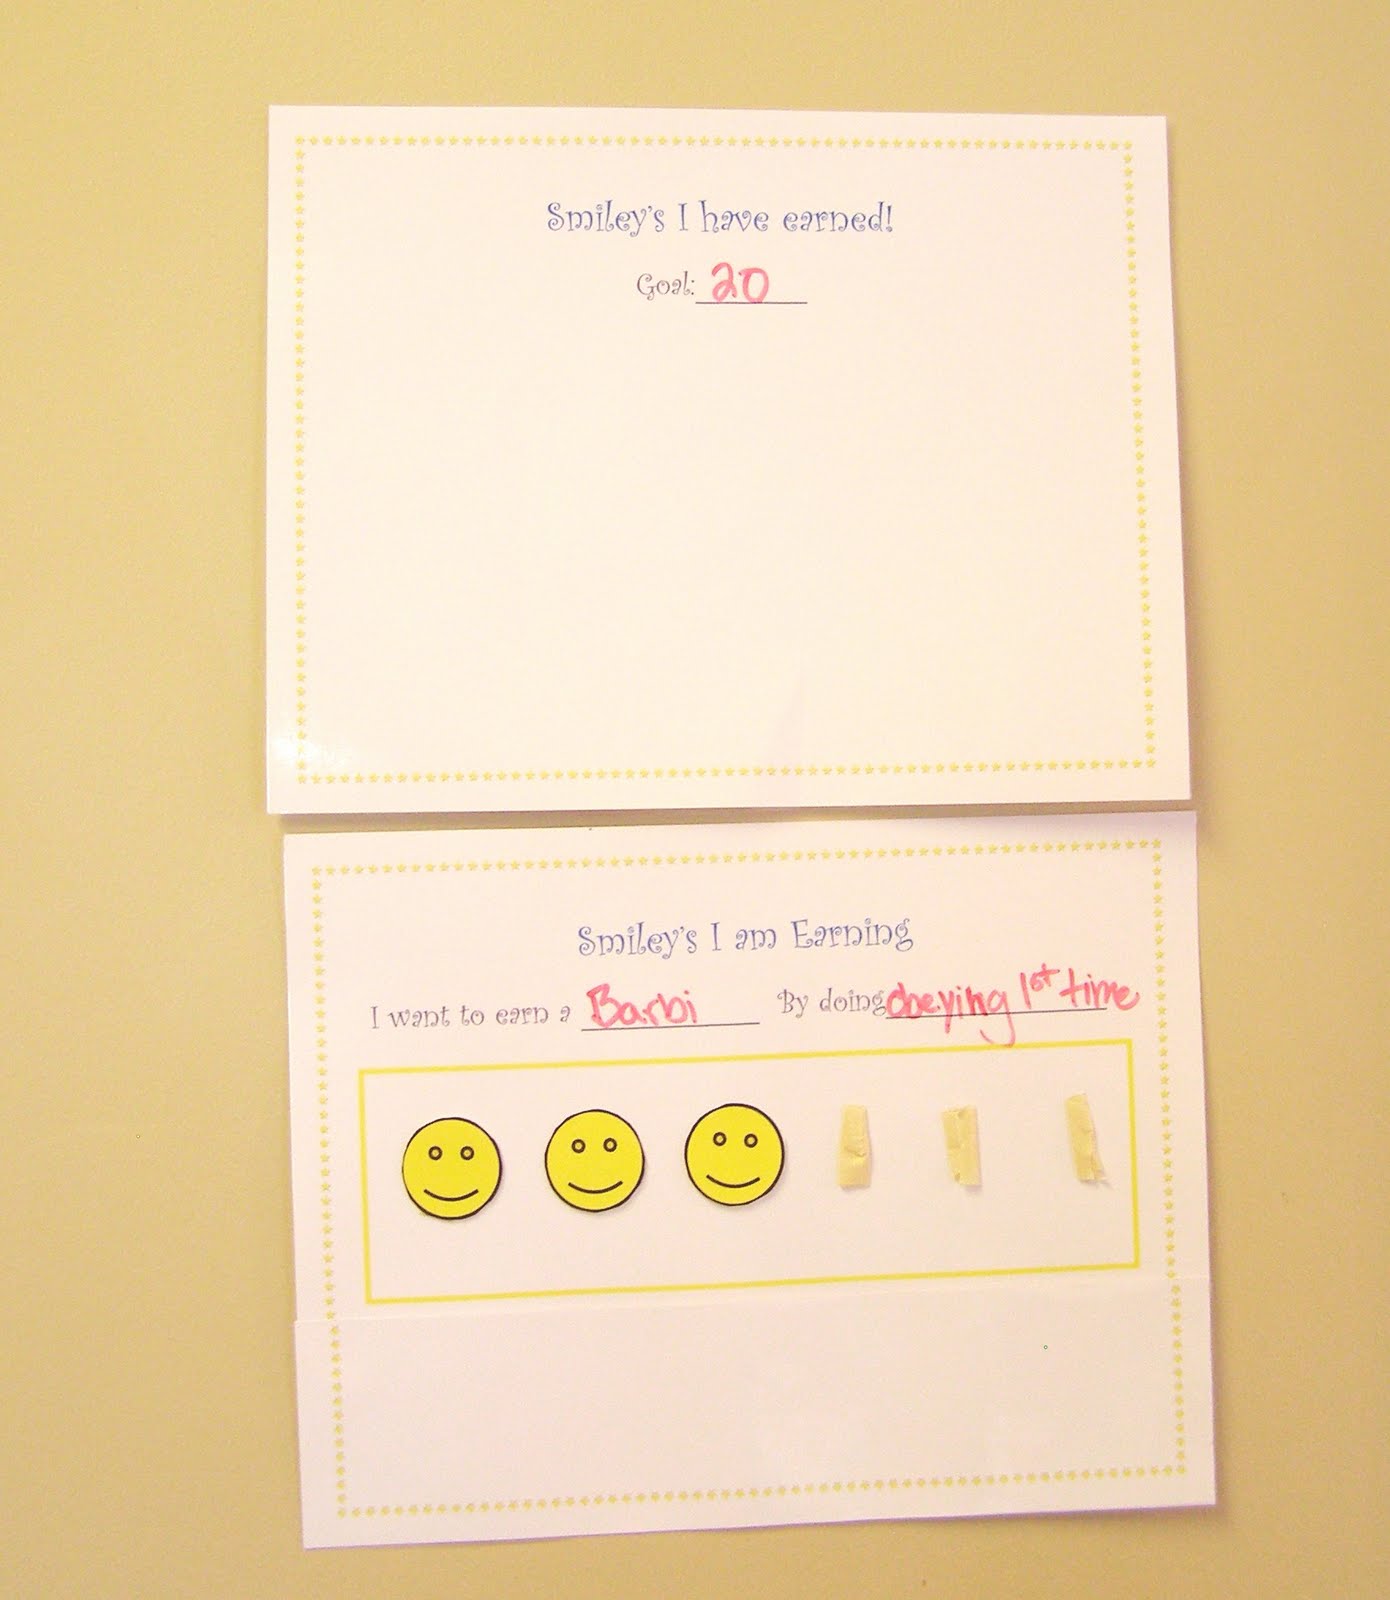
So my middle child just earned herself a barbie doll by sleeping in her own bed for a full week. After 2 years of trying to accomplish this goal, it is was amazing. But this made my eldest child jealous and now she wants to earn a barbie doll herself. Since she is older though and a fairly well behaved child making a goal for her was slightly more complicated. So here is what I did.
You see I have 2 laminated sheets, one for the smiley faces she is working on earning and one for the smileys she has earned. I laminated the sheets so I could change the goal and prize as needed with a dry erase marker. As I mentioned before she wants a new barbie doll. So we decided that she needs to work on obeying the first time I ask her to do something. When she does and completes the task she will earn a Smiley Face. When she has 20 smiley faces she will get her barbie doll.
Also below the box that has the earning faces in it, I made a pocket to store all the smileys in. I did this by cutting a strip of paper and gluing the sides and bottom to the smiley box piece of paper. Then after it was laminated I simply took some open scissors and cut along the top of the pocket so it opens up.
As you notice too I am using tape. I played with the idea of magnets or velcro dots, but since I want this chart to be more flexible I decided to use un-permanent tape.
I hope this give some one a good idea to help with their children as well. Keep in mind that no one chart works for everyone. Depending on the age of the child, the personality of the child and even the personality of mom is what determines if a certain chart will work for you or not.
So I mentioned last week that we are approaching 100 followers. When those 100 followers are reached I will do a giveaway. And you can start entering for this prize right now. You can read about that here. I have decided on the prize and it is going to be awesome. Here is a little sneak peak:)
So get to referring people so you can win this darling prize:)
You see I have 2 laminated sheets, one for the smiley faces she is working on earning and one for the smileys she has earned. I laminated the sheets so I could change the goal and prize as needed with a dry erase marker. As I mentioned before she wants a new barbie doll. So we decided that she needs to work on obeying the first time I ask her to do something. When she does and completes the task she will earn a Smiley Face. When she has 20 smiley faces she will get her barbie doll.
Also below the box that has the earning faces in it, I made a pocket to store all the smileys in. I did this by cutting a strip of paper and gluing the sides and bottom to the smiley box piece of paper. Then after it was laminated I simply took some open scissors and cut along the top of the pocket so it opens up.
As you notice too I am using tape. I played with the idea of magnets or velcro dots, but since I want this chart to be more flexible I decided to use un-permanent tape.
I hope this give some one a good idea to help with their children as well. Keep in mind that no one chart works for everyone. Depending on the age of the child, the personality of the child and even the personality of mom is what determines if a certain chart will work for you or not.
So I mentioned last week that we are approaching 100 followers. When those 100 followers are reached I will do a giveaway. And you can start entering for this prize right now. You can read about that here. I have decided on the prize and it is going to be awesome. Here is a little sneak peak:)
So get to referring people so you can win this darling prize:)
Monday, October 4, 2010
Tutorial Review {Baby Snap on Bib}
Okay so I don't have all the pictures I want of this but I have enough to do a post so here you go.
This review comes from Sew4Home. Sew4Home is an awesome website for anyone who likes to sew, especially who like to sew home decor. Home decor sewing has always scared me but as I browse their site I am filled with inspiration and with hope. Here are some of their projects that are on my to do list.They just posted this one today and when I saw it I swear I heard the heavenly choir sing. It is an answer to my prayers and my monkeys are getting them for Christmas this year. It is a Roll Up Nap Blanket. Here is the tutorial.
Next is this adorable apron. It reminds me of the ones you see for sale at boutiques for like $40. Yeah I ain't spending no $40 on an apron. But I can now make one for less than $10! Here is the tutorial.
With all three of my monkeys I have bought a different diaper bag and I have hated them all. I think this in the answer to that problem. So cute and functional! Here is the tutorial.
And last this is something I really need to make. You see my sewing machine was a hand-me down gift. Don't get me wrong I LOVE my sewing machine, but it didn't come with everything a new one does like a cover. So I really need to do this. Here is the tutorial.
Now for what I have made and the tutorial I am reviewing. It is their baby snap on bib. Here is their link.
Aren't those soooo cute. They are a nice big size too. I love how they are simple yet darling. Here is one of my finished bibs. (As I mentioned in my last post I don't have all my pics but I will show you some more later.)
I think it is darling!
I did make one minor change though. The fact that the bib took just over 1/2 a package of bias tape kinda drove me crazy. So I slightly shortened their pattern so I could get to bibs out of one package of bias tape.
It still fit my baby just fine.
I love this bib and I will be making more. I think it is a great thing to keep on hand for baby gifts.Tips:
If you have never worked with snaps before practice on scrap fabric first. It can be a little confusing the first time you do it.
They mention in the tutorial that when pinning the bias tape to the tight curve neck part that it looks like a porcupine, well if your not careful it feels like one too :)
Make sure to pre-wash fabric. Especially since you are combining two different types of fabric that will have different shrinkage the first time they are washed.
Time:
About 1 1/2 hours. Most of that is pinning the bias tape on, but with practice you get faster.
Total Cost:
This depends on the fabric you use. But the priciest part it the bias tape. The cheapest place to get bias tape is wally world but they don't have a stellar selection.
I would say this bib cost me $2 in the end.
As always if you make one I would love to see a picture!
Monday, September 20, 2010
T-Shirt Dress Flop
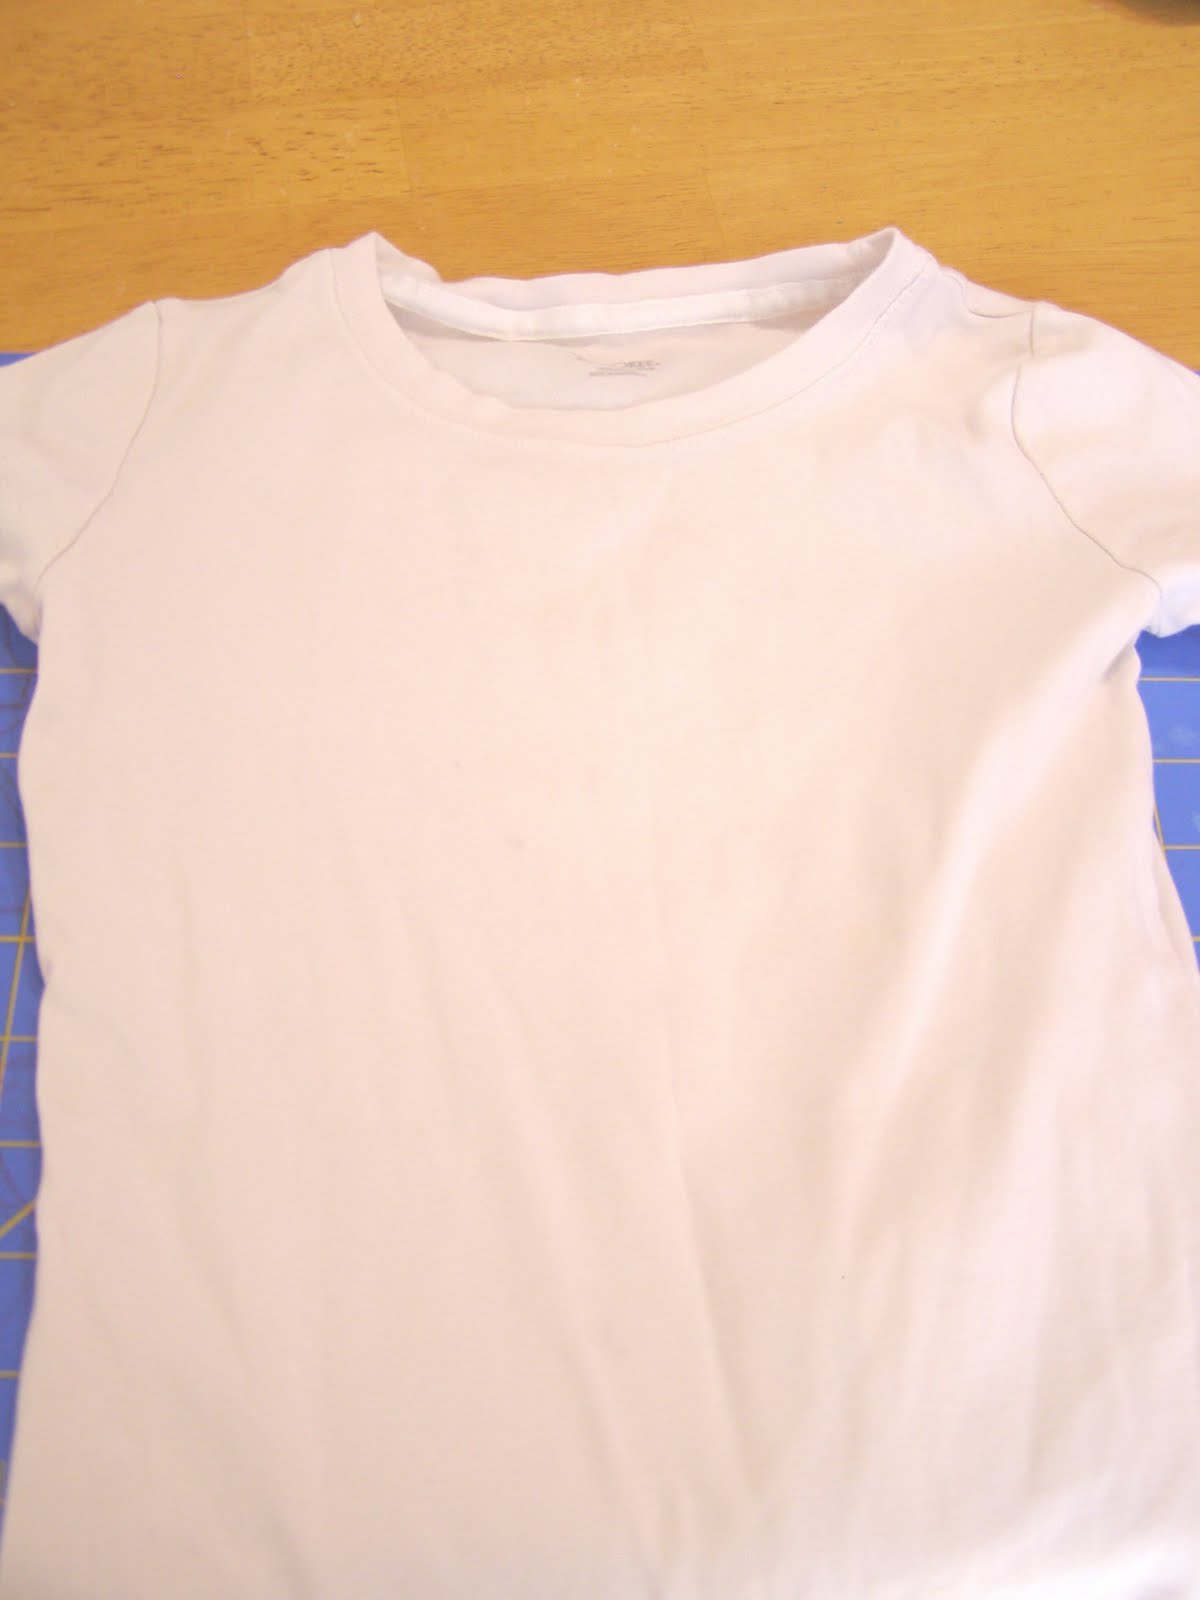
I made my 5 yr old monkey a super quick and easy dress this weekend. The problem is I hate it. You see I took 2 old dingy shirts and I wanted to turn them into something new and fabulous.
I ended up turning them into something new and dingy.
Oh well. I think this dress could be cute if you used new fresh t-shirts. I also think it would be much cuter if you made it for a younger child so you could make the dress an empire waist instead of a normal waist.
The dress only took about 20 min to make. Since I am so bummed about it at the moment I am not posting a tutorial but if you want to give it a go with fresh t-shirts and want the tutorial just let me know and I will post it.
I ended up turning them into something new and dingy.
Oh well. I think this dress could be cute if you used new fresh t-shirts. I also think it would be much cuter if you made it for a younger child so you could make the dress an empire waist instead of a normal waist.
The dress only took about 20 min to make. Since I am so bummed about it at the moment I am not posting a tutorial but if you want to give it a go with fresh t-shirts and want the tutorial just let me know and I will post it.
Tuesday, June 1, 2010
Tutorial Review {Lace Up Cards}
Today's review comes from Little Birdie Secrets. This craft blog has something for everyone. It is three friends who have come together to share with us vast amount of knowledge and crafts. Here is a glimpse of what you might find if you go over there.
See, something for everyone! Since it was a holiday I weekend I went with a bit simpler, but wonderful craft this week. Plus my little monkeys needed a new activity for church and other quiet times. I also think I might whip up a few more sets to give as birthday presents. Here is Little Birdie Secretes Lace Up Card.
Isn't that the cutest. So simple and wonderful, and brilliant. This is my finished project.
I love them. I did do a little twist though. I decided to use cookie cutters to make my shapes. This way I didn't have to scour clip art, or draw free hand. (If I had to draw free hand all my shapes would have been amoebas.)
And I wanted them to be a bit sturdier so I doubled up the foam.
The hole punch unfortunately will not fit around two layers of foam though so I had to punch one out. Than to make my hole match up I laid the punched foam on top of the unpunched foam and placed a small dot in the middle.
I then centered the hole punch on the dot. This method worked really well. If I was more of a perfectionist I imagine it would have worked even better, but alas I am no where near a perfectionist.
In the end I think the doubled look ended up being super cute. And I am super pleased with the turn out.
To get my pieces of foam to stick together I tried spray glue, tacky glue and hot glue. In the end they all worked, but the spray glue required a bit more work to hold them together at the beginning and the tacky glue required a lot of patience in drying, so my preferred glue was the hot glue.
She loved them! She sat there the whole time playing with them, and for this child sitting longer than 2 minutes is a huge accomplishment.
See, something for everyone! Since it was a holiday I weekend I went with a bit simpler, but wonderful craft this week. Plus my little monkeys needed a new activity for church and other quiet times. I also think I might whip up a few more sets to give as birthday presents. Here is Little Birdie Secretes Lace Up Card.
Isn't that the cutest. So simple and wonderful, and brilliant. This is my finished project.
I love them. I did do a little twist though. I decided to use cookie cutters to make my shapes. This way I didn't have to scour clip art, or draw free hand. (If I had to draw free hand all my shapes would have been amoebas.)
And I wanted them to be a bit sturdier so I doubled up the foam.
The hole punch unfortunately will not fit around two layers of foam though so I had to punch one out. Than to make my hole match up I laid the punched foam on top of the unpunched foam and placed a small dot in the middle.
I then centered the hole punch on the dot. This method worked really well. If I was more of a perfectionist I imagine it would have worked even better, but alas I am no where near a perfectionist.
In the end I think the doubled look ended up being super cute. And I am super pleased with the turn out.
To get my pieces of foam to stick together I tried spray glue, tacky glue and hot glue. In the end they all worked, but the spray glue required a bit more work to hold them together at the beginning and the tacky glue required a lot of patience in drying, so my preferred glue was the hot glue.
Total Time: 1 hour for 6 cards
Total Cost: I bought a pack of 50 pieces of foam for $5. The shoe laces were $2 and there were 4 laces in each package, so with a little math my total is around $0.60 for each card.
I just made them last night and they already came in super handy. My eldest monkey had Kindergarten assessment today so I brought these along for my middle monkey to play with so she wouldn't get into everything, be a distraction to her sister or a stress to her mom.She loved them! She sat there the whole time playing with them, and for this child sitting longer than 2 minutes is a huge accomplishment.
Subscribe to:
Posts (Atom)